If you’re like me the phrase goes “once you go gas you cannot go back”. Growing up the only type of stove I ever used was gas. In my early-twenties I lived a short stint in two apartments with electric ranges but I don’t think I did much cooking at that time. Shortly after getting married my wife and I bought a nice starter home and I was very pleased to see a proper gas stove. After about 8 years we moved into our current home and we have an electric range.
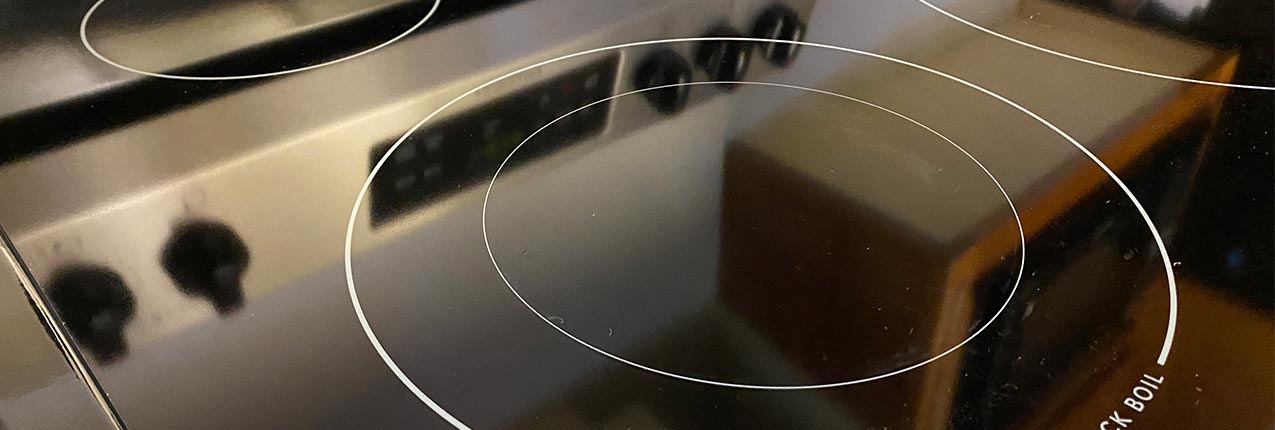
Now, I’m no Marie Kondō with perfect cleaning habits and the whole run-down of organizational methods but I do like a tidy kitchen. And, If you’ve ever had an electric stove, particularly the ceramic cook-top variety, you know that the struggle is real.
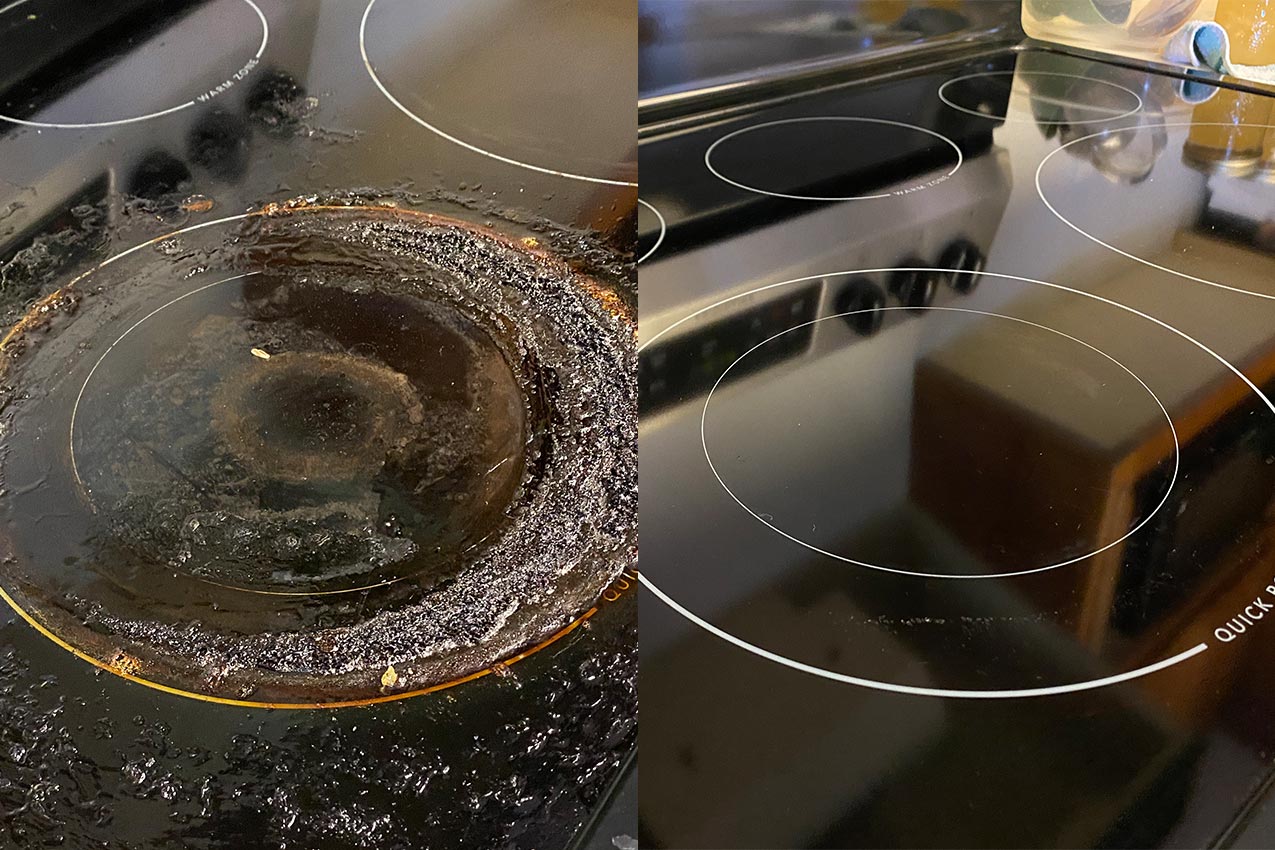
Recently, my wife was cooking up batches of marmalades and jams and had a boil-over. While I wasn’t super excited to get cleaning I did see an opportunity to share my technique. This technique has worked wonders for me but your mileage may vary.
Below is my approach to cleaning ceramic cook-top stoves. With this technique I’ve had very good success in restoring even some of the most filthiest ranges.
Disclaimer: Use these techniques at your own risk, I am not liable for any losses and/or damages in connection with my recommendations. And please, use/wear proper personal protective equipment.
Step 1: Allow the Stove to Cool Down
We want to reduce our own personal risk of harm, so let that mess cool before attacking it. To some, this may sound counter-intuitive because some messes may be “easier” to clean up while hot. I’d rather error on the side of safe rather than sorry.
Step 2: Clear Any Loose Debris
This may sound obvious and it should. We want our work area to be as targeted on the hard stuff as possible. Take a rag (wet or dry) and give the stove a good once over to ensure that it is clear.
Step 3: Spray Problem Areas with Oven Cleaner
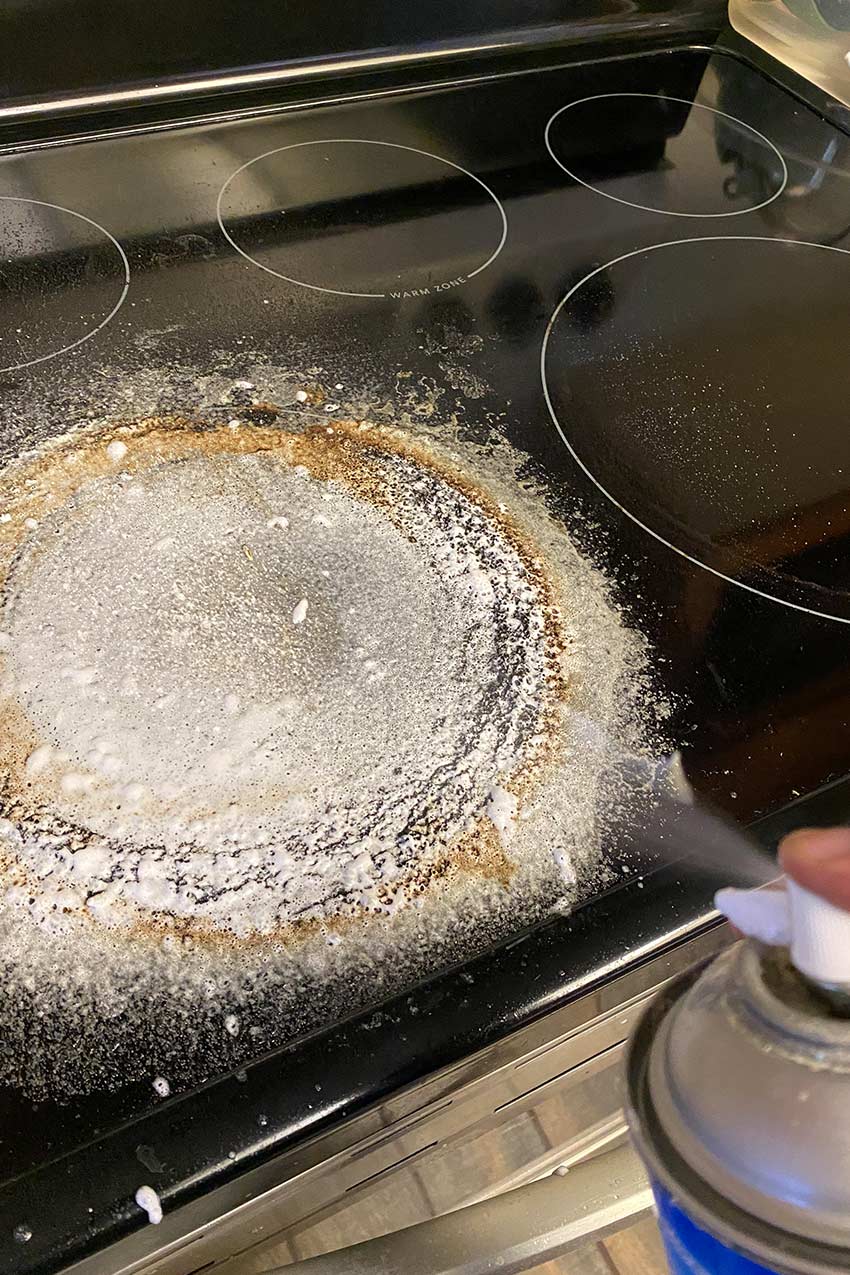
Pro Tip: Use the fume-free formulation.
Word of warning: If you have any stainless steel, aluminum or other surface/item nearby that will react with the cleaner (as we do) be sure to wipe them immediately with a moist towel to prevent damage from the cleaner.
This is one of the keys to getting the stove exceptionally clean. Spray, coat and re-spray until the area is coated with a nice bubbly white layer of cleaner.
Step 4: Wait
Set a timer for 5-20 minutes and let the cleaner do the work.
Step 5: Scrub, Scrub, Scrub
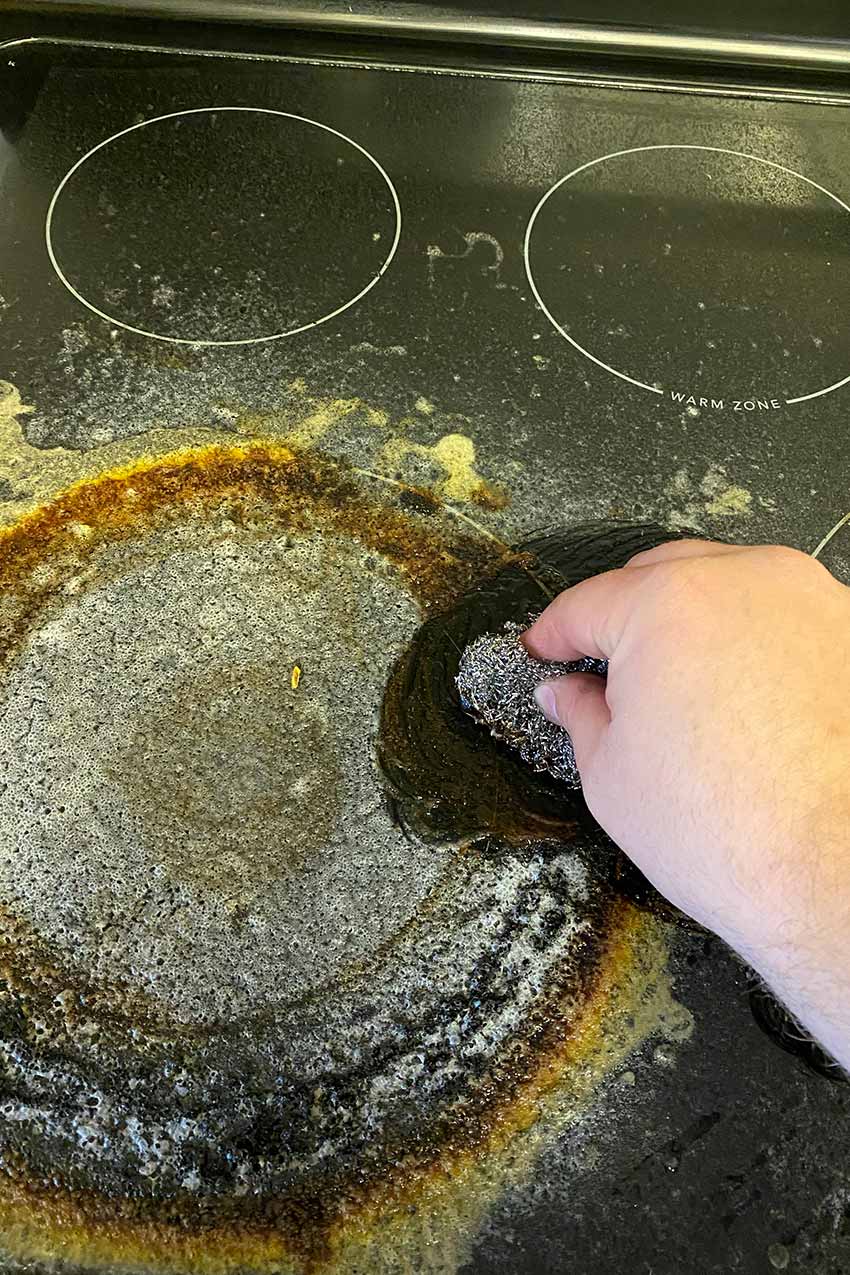
For this step, I prefer to use these Stainless Steel Scrubbing Scouring Pads. They really get the job done with little effort. I just run some warm water over the pad and scrub the surface of the stove in a circular motion. Do this until you think it’s either clean or not getting any better.
Step 6: Wipe with Paper Towel
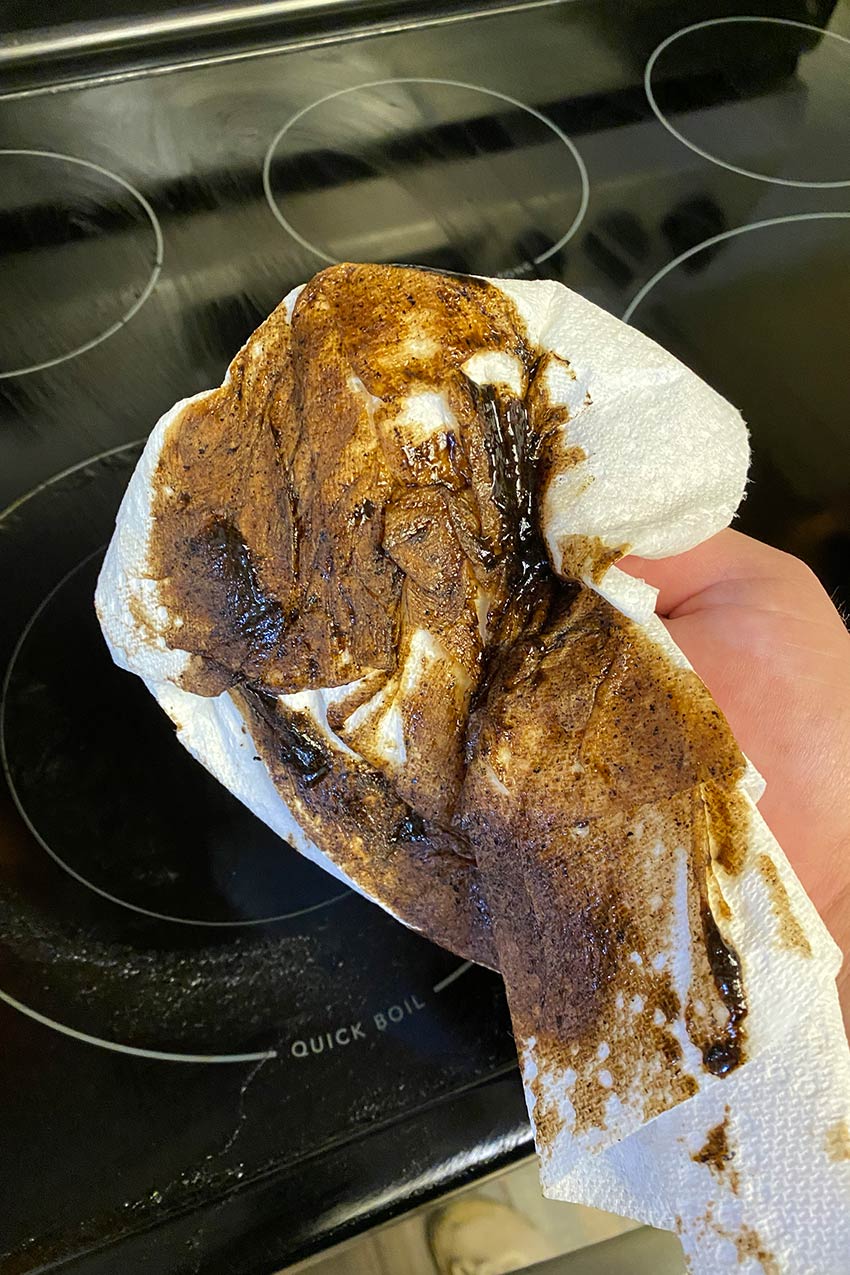
Lets see how we did.
If we got everything and it looks good proceed to step 6; otherwise, you can repeat steps 3-5 and see if it gets any better.
If you’re like me and ran-out of oven cleaner or you want to try some other finishing techniques.
You can rinse the scouring pad and add some dish soap and give it a scrub.
You can also take out a razor blade and carefully scrape at the remaining stain.
I personally prefer re-spraying the stove because I feel that the cleaner makes it easier and is less error prone than scraping and scrubbing (as I have damaged this stove before with the razor blade).
Step 7: Final Wipe Down and Buff
For this final step I usually wipe down the entire stove with a moist towel and dry it off. And to finish it off I wet the surface with Cooktop Cleaner and dry and buff with a micro-fiber towel.
Closing
I hope that this tip comes in handy so you too can have a super clean ceramic/glass electric stove.
Disclaimer: some of the links in this post are Amazon affiliate links.